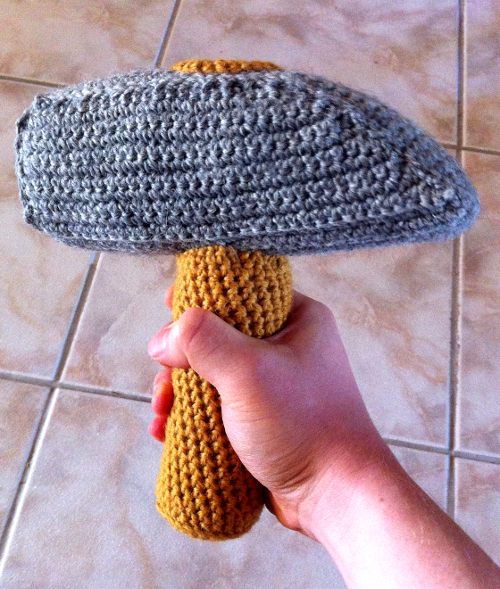
Hammer Plushie
Free Crochet Pattern
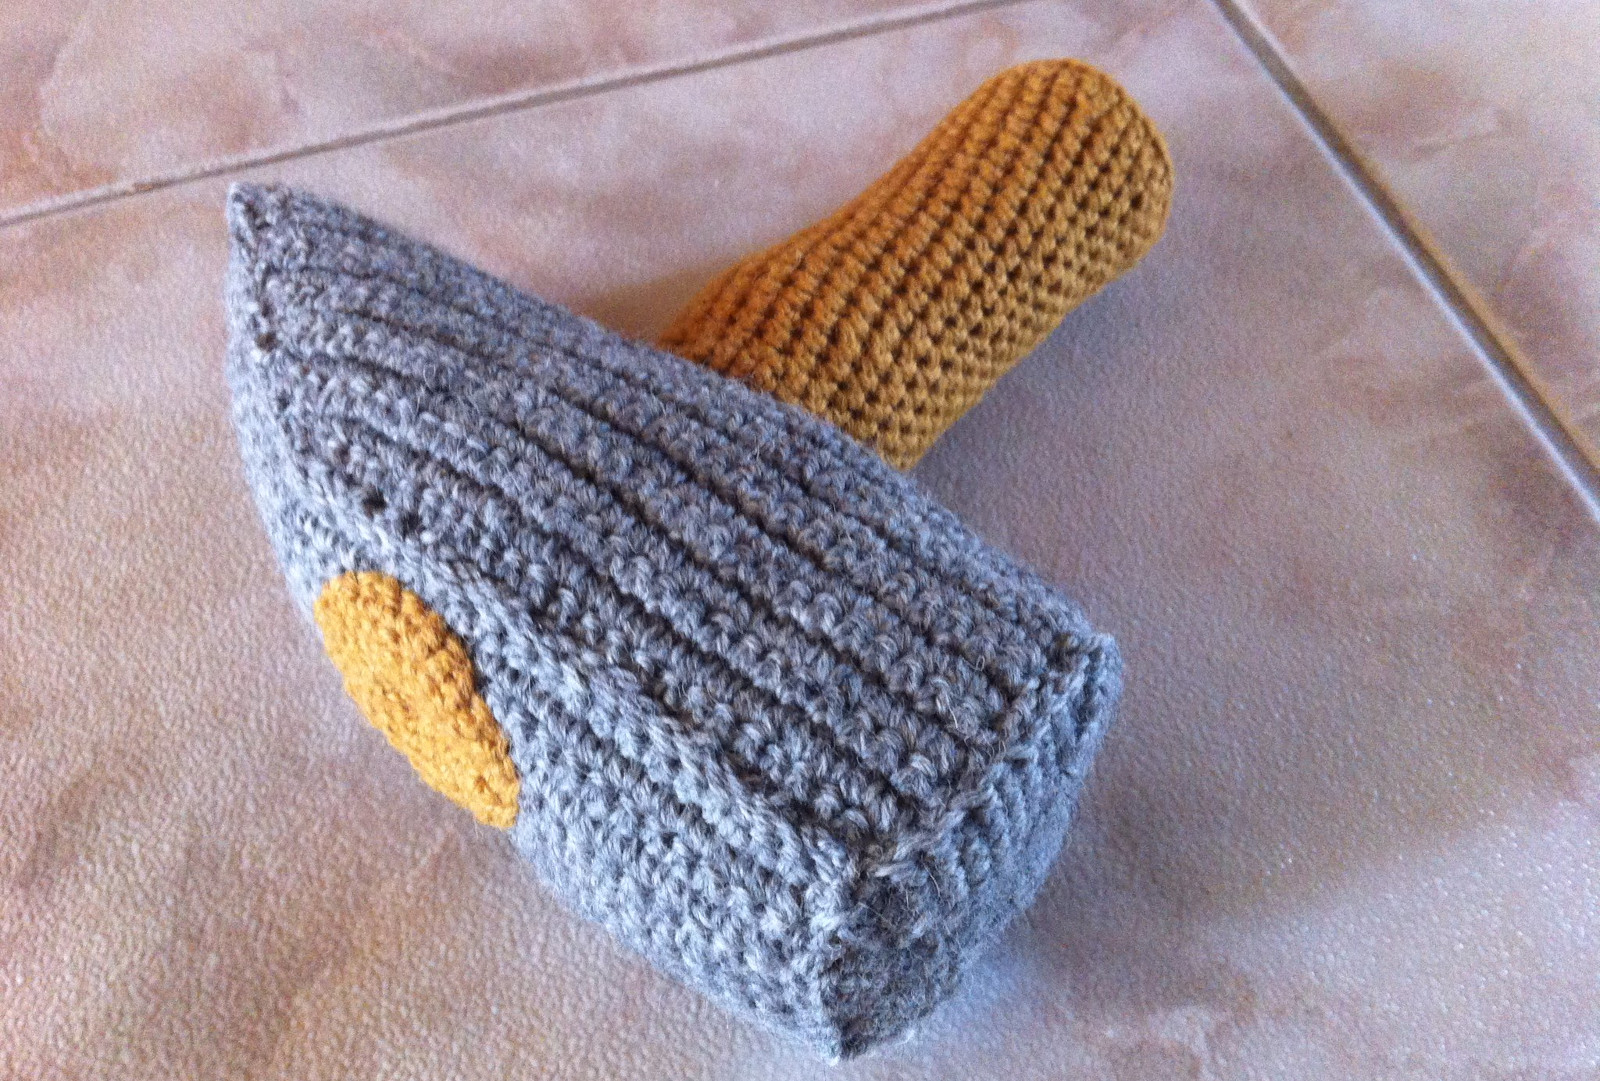
Hammer Plushie crochet pattern was the first pattern in my sarcastic series of #manlycrochet, where I aimed to crush the stereotypes associated with crocheting.
Finished size of the hammer is about 20cm x 20cm and it fits nicely to an adult sized hand.
Materials
- 3,5 mm crochet hook
- Brown and gray worsted weight yarns
- Fiber fill
- Needle for sewing
Hammer handle
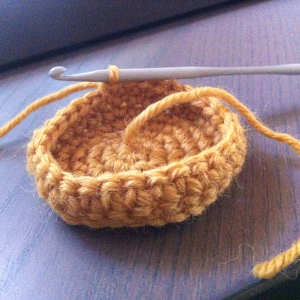
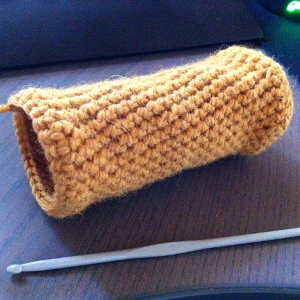
Handle is done working in a spiral. There is no need to join rounds but rather just continue around.
Round 6 is worked front loops only to change from horizontal increase into a vertical tube. Note that the whole tube is not done with the same diameter as the bottom. Decrease in round 6 prevents the handle becoming too bulky when stuffing it firmly.
Use brown yarn
Fasten off and leave a tail for sewing.
Hammer head
Hammer head frame is worked in rows. The work is turned after each row and generally every row begins with a chain. Exception being when we use the lack of the first chain in combination with a slip stitch to do the slanted part of the right side of the head (in row 26 and onward).
The head is done in two parts. First part being the frame of the head which consists of four sides separated with 'back loop only' rows to ensure the angular shape of the head. Second part is the square front of the head.
Use gray yarn.
Fasten off and leave a long tail for sewing.
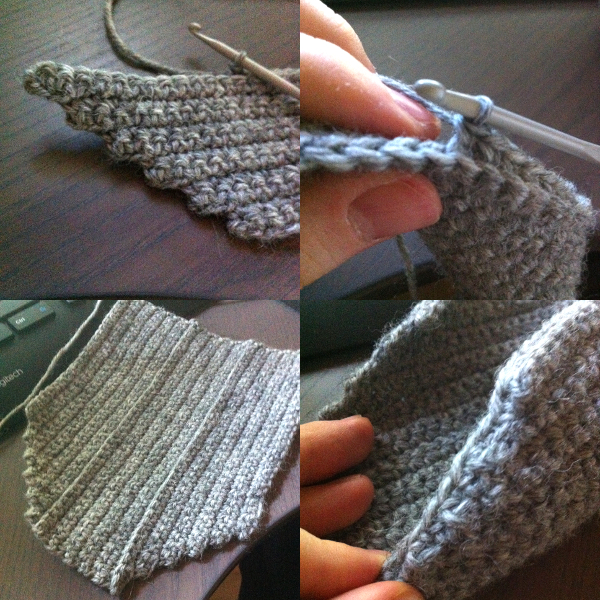
Finish off the hammer head frame by sewing the top part (row 48) into the left side (row 1 + slope) of the frame. Basically sew through the back loops of row 48 and attach them to the posts of row 1 and the slope.
Finally close the sharp end of the head with whip-stitches. Don't stuff yet.
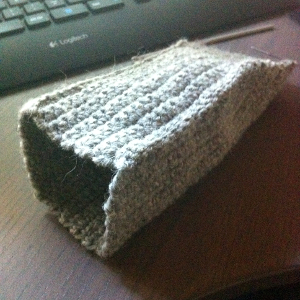
Now is a good time to attach the handle to the frame. It is important to make the seam as tight as possible. We don’t want the head to sway when using the hammer. So it’s best to sew the handle before stuffing the head part.
Stuff the handle firmly so it does not feel sloppy when held.
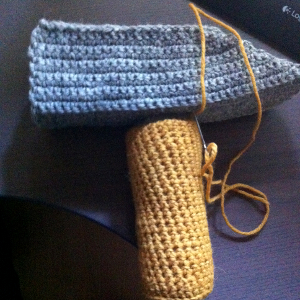
Align the handle with the hammer head, using yarn as a guide if necessary. Handle should be located right in the middle of the head and a bit away from the point where the slope begins.
Sew tightly together.
Hammer head front part
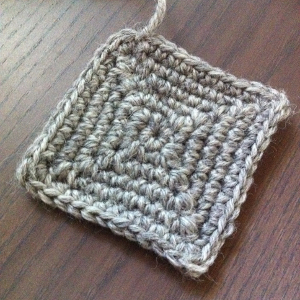
The front part of the hammer head is a square which is sewn on top of the frame itself. The front is worked in the round. Each round ends with a slip stitch into the first stitch of the round.
To work in the round but achieve a square shape, work three stitches (sc, dc, sc) into each corner stitch during each round.
Use gray yarn.
Fasten off and leave a tail for sewing.
Handle top
The handle top is a circle piece sewn on top of the hammer head to make it look like the handle goes through the head part. Handle top is worked in the round.
Use brown yarn.
Fasten off and leave a tail for sewing.
Finishing the hammer
Stuff the hammer head. Head should be as firm as possible while maintaining the angular look. Putting too much stuffing can make it look too puff.
Next align the handle top piece with the handle and sew it on top of the hammer.
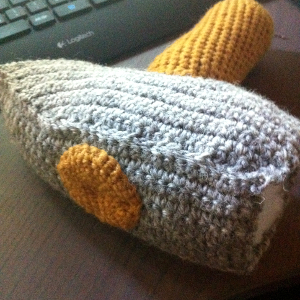
Finally align the front piece in front of the hammer head, not inside the hammer head. So the opposite way as we did with the head itself. Sew through the front piece to attach it to the head.
Finish stuffing before closing the final hole. For even more authentic look you may do as I did and accidentally stab your finger with a needle and bleed a little over your new hammer. That makes your hammer even manlier.
Enjoy your new hammer plushie!
