Hey Duggee Badges
Free Crochet Pattern
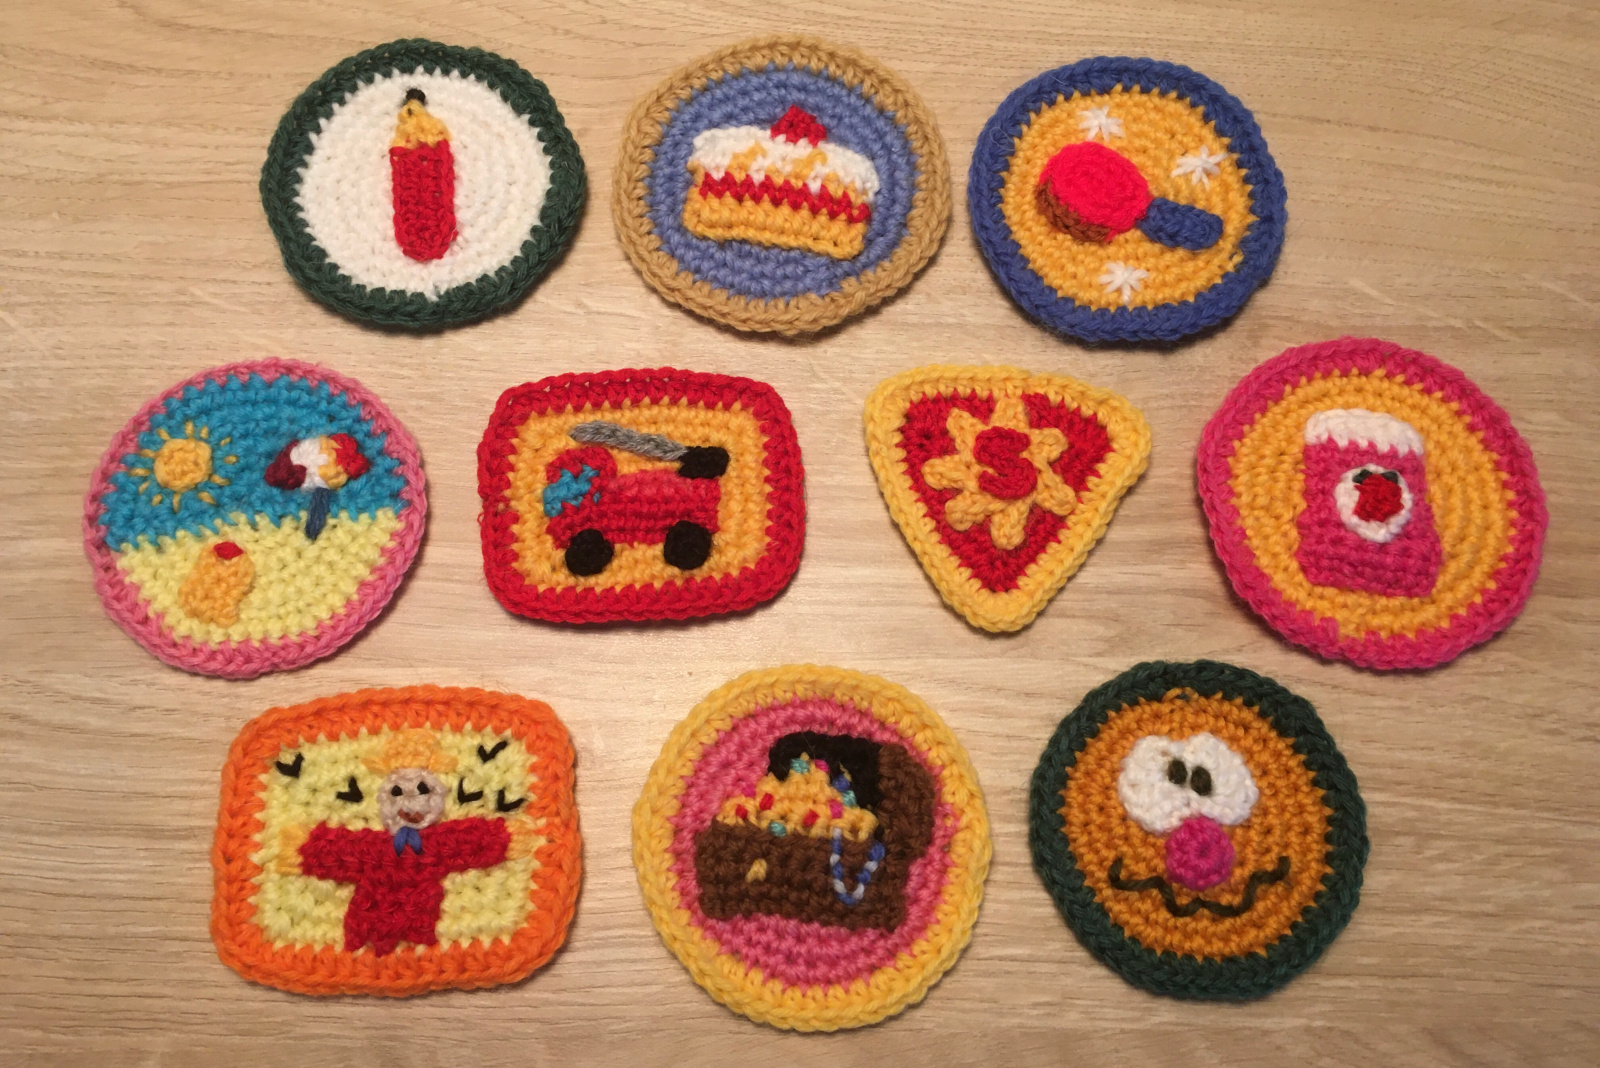
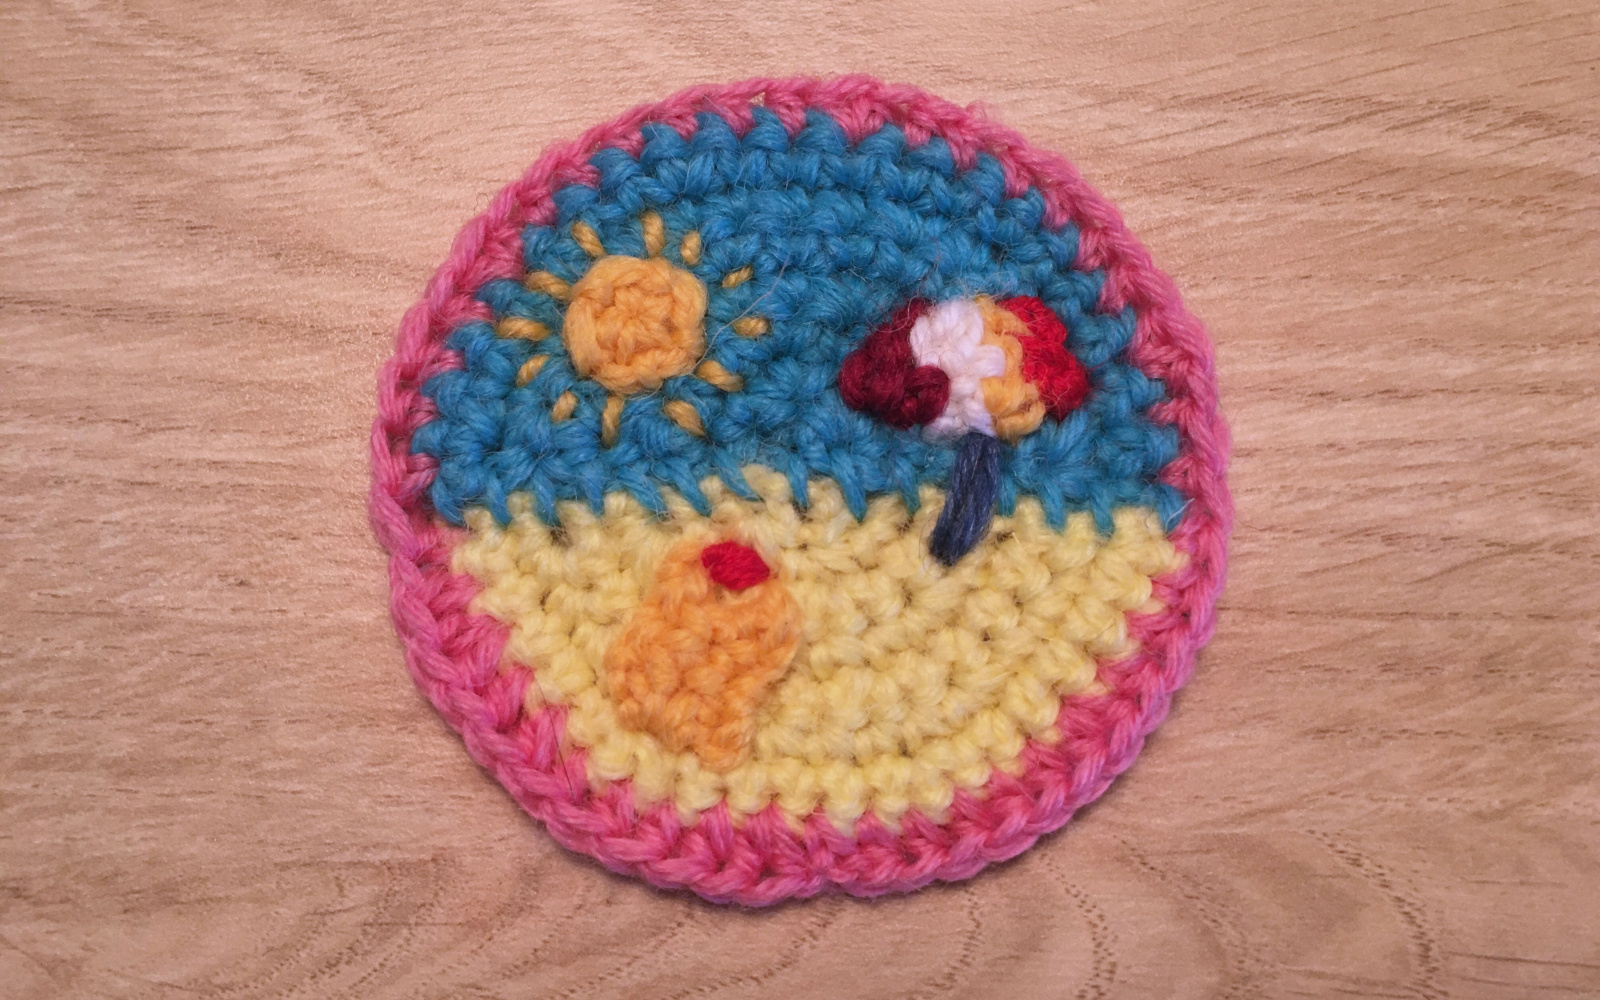
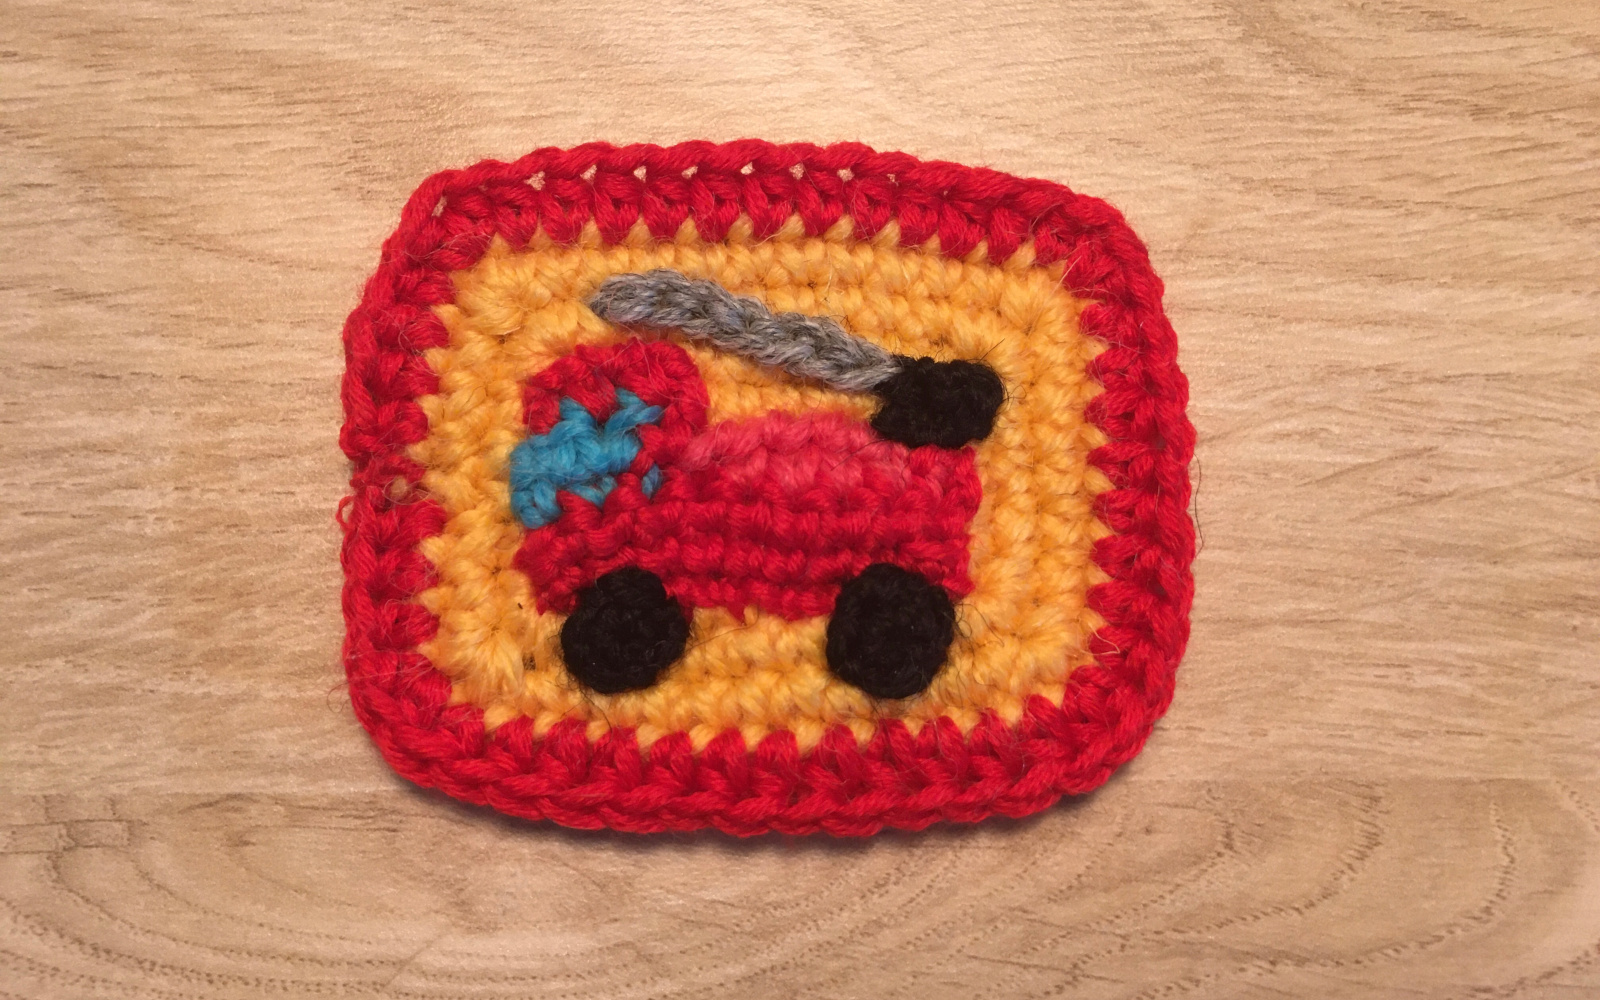
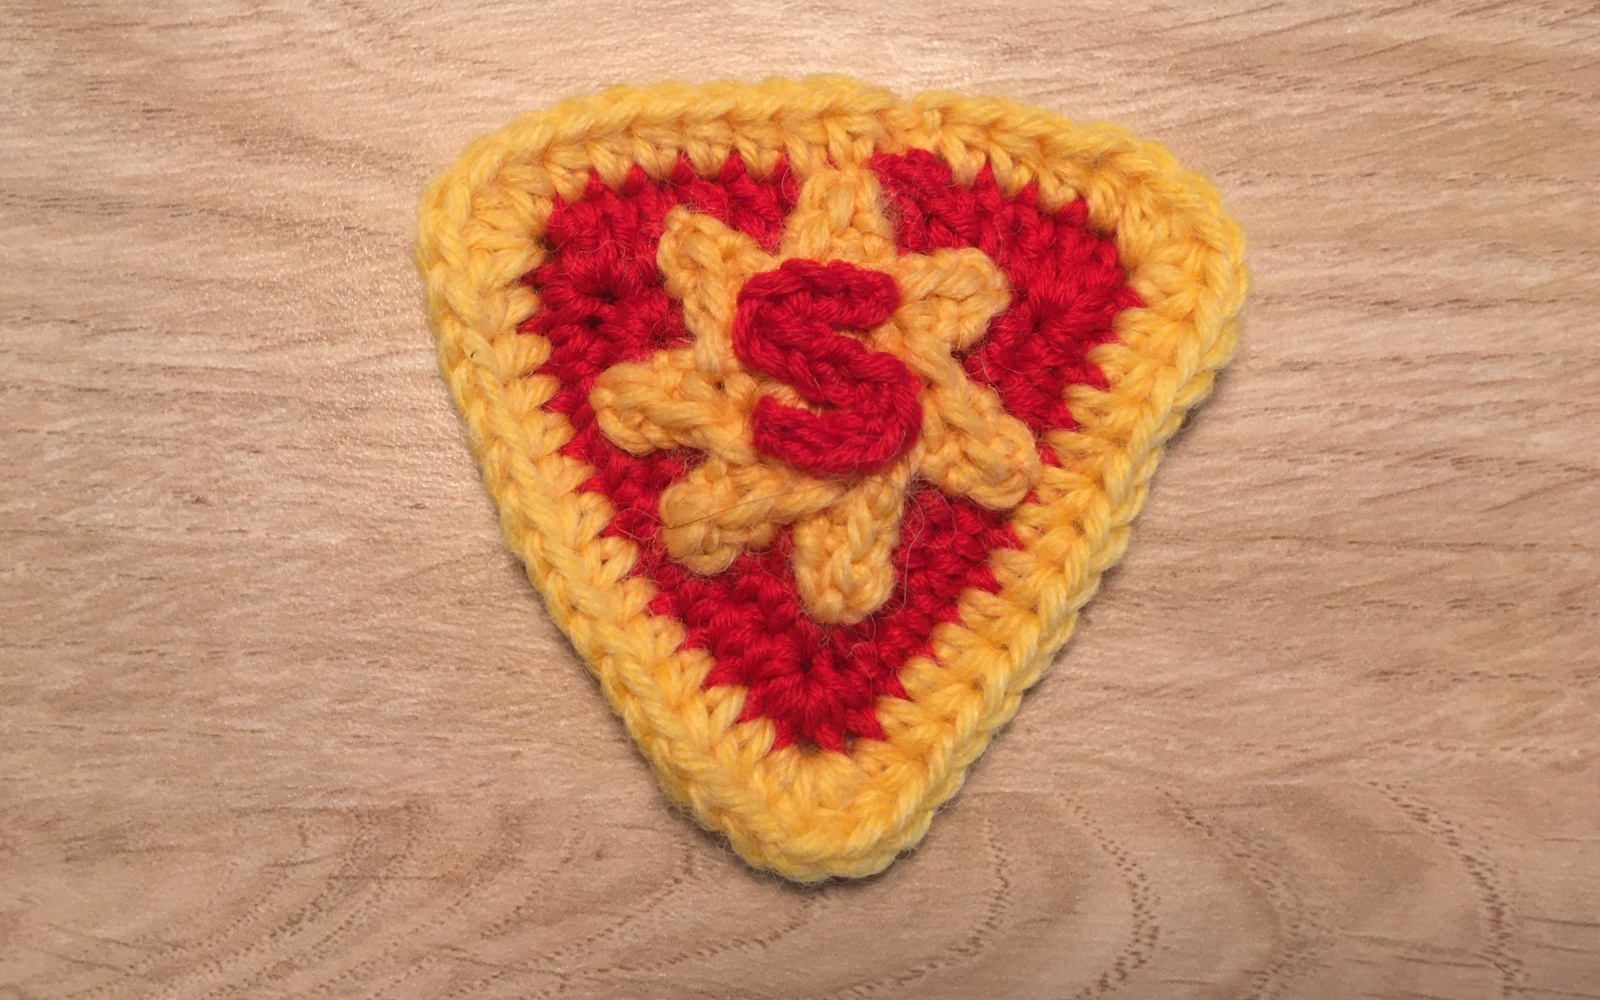
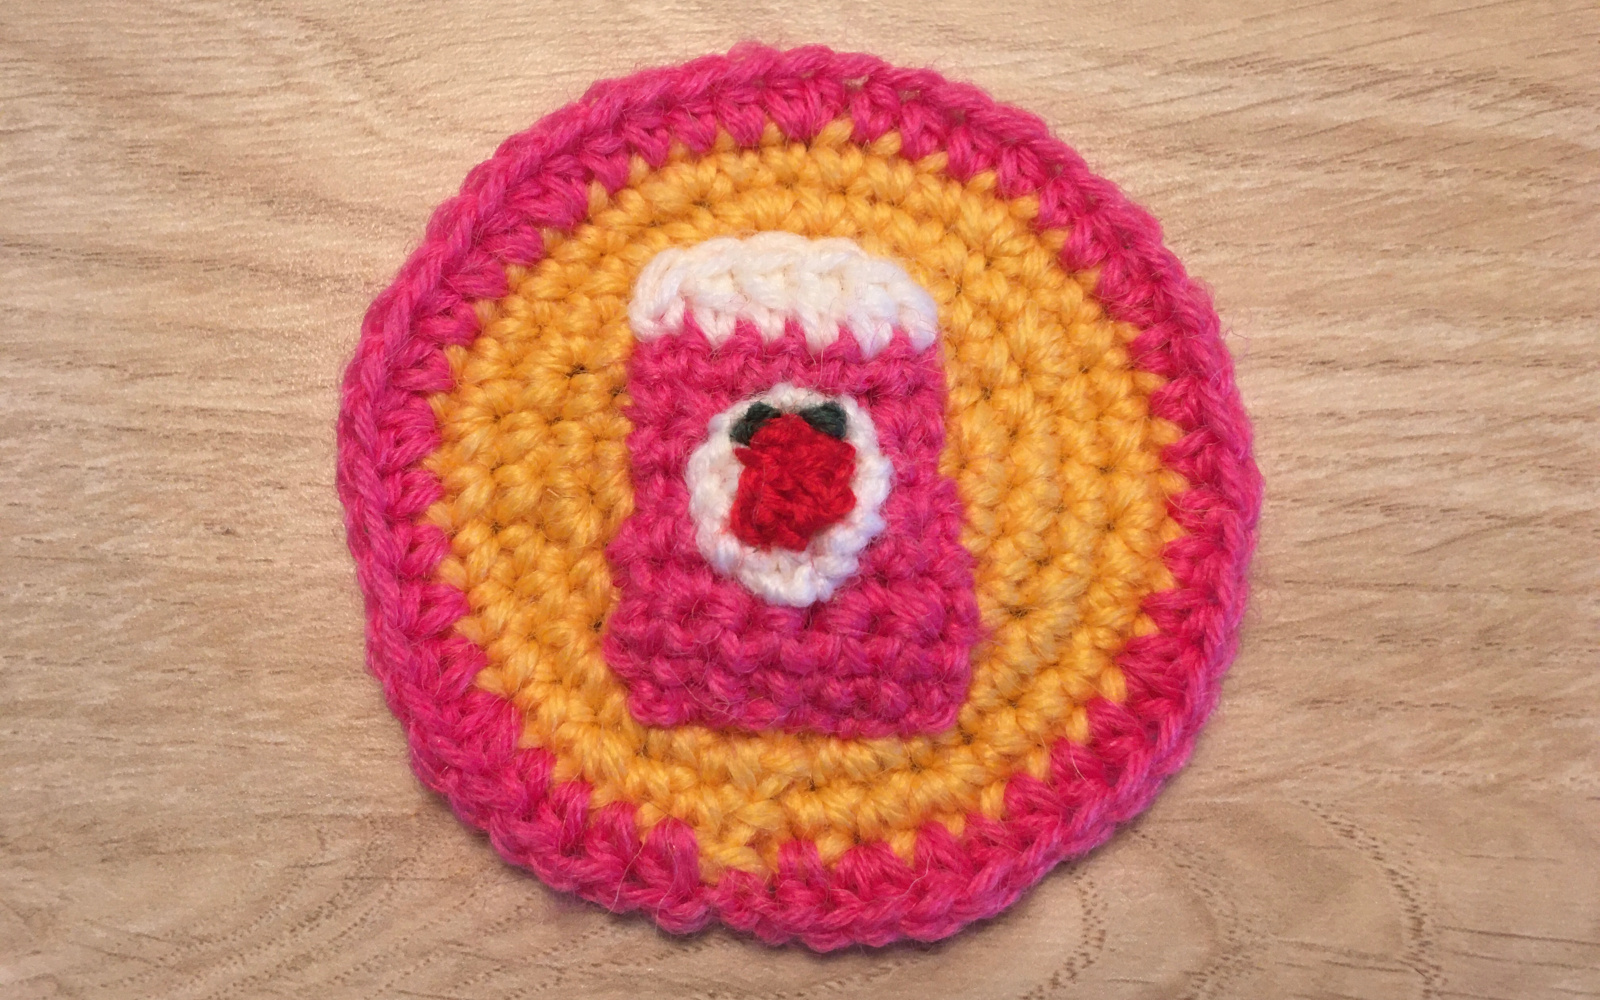
Hey Duggee is one my 1-year-olds favourite shows at the moment. I already made him Duggee and the cute frog. Next I began thinking if I could make the badges.
As with many of my projects, this one also began with the thought 'Could I crochet those...`'. I might do rest of the badges at some point, or this might be all for now. We'll see.
Hey Duggee Badges Season 1
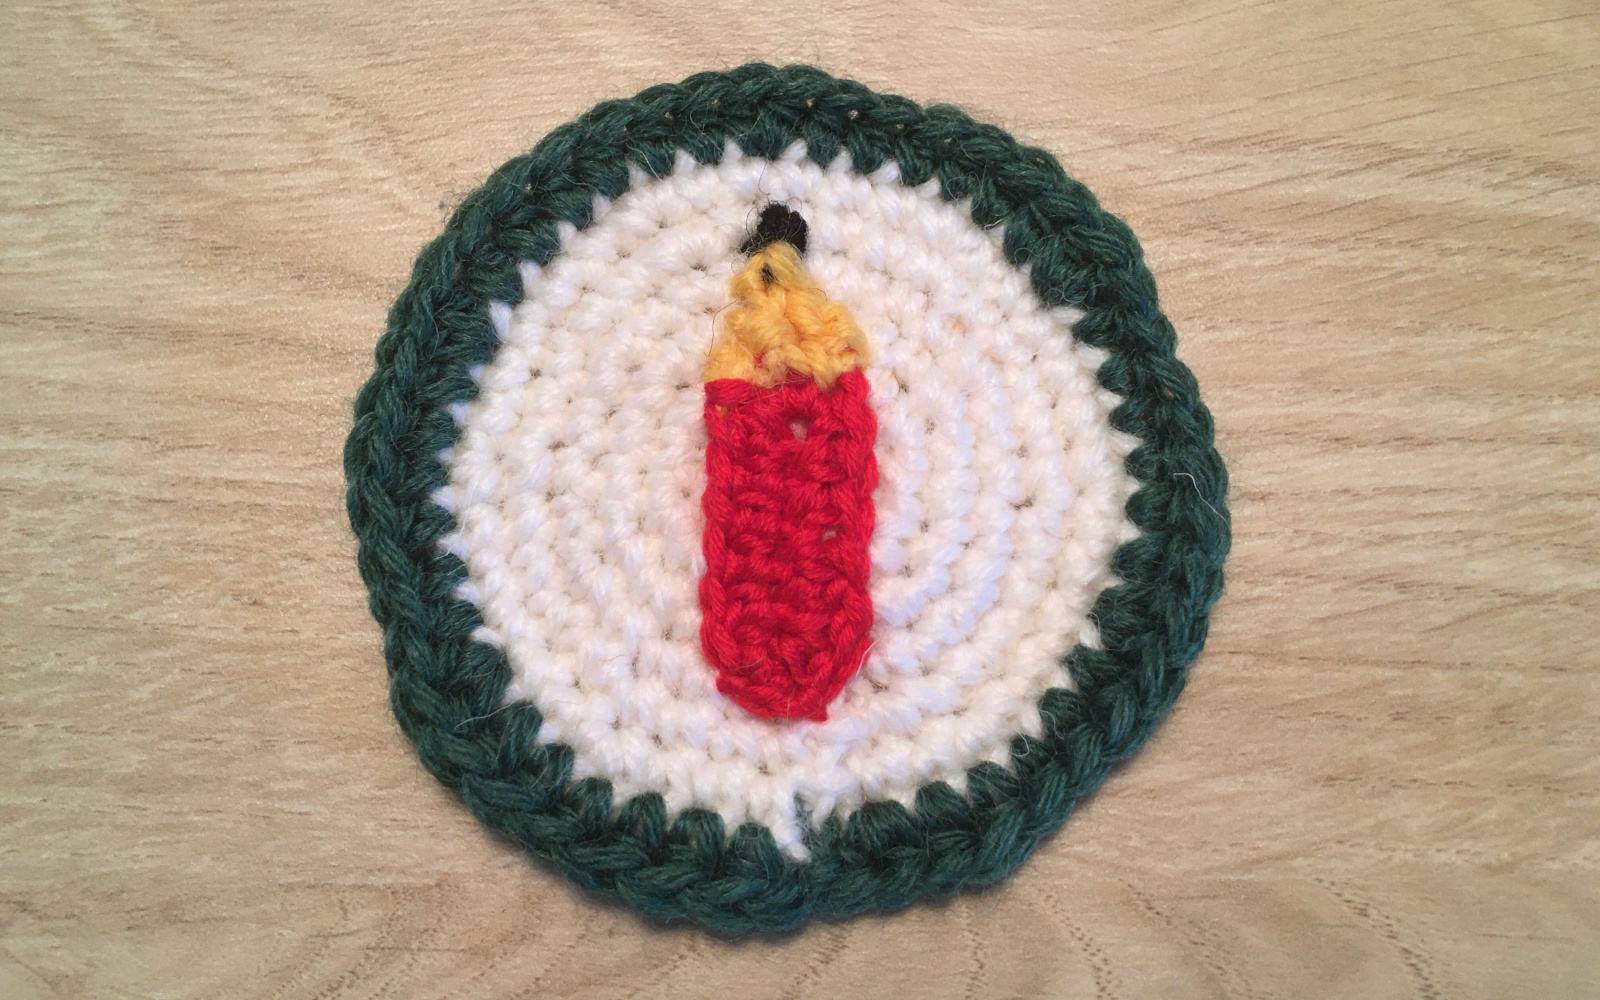
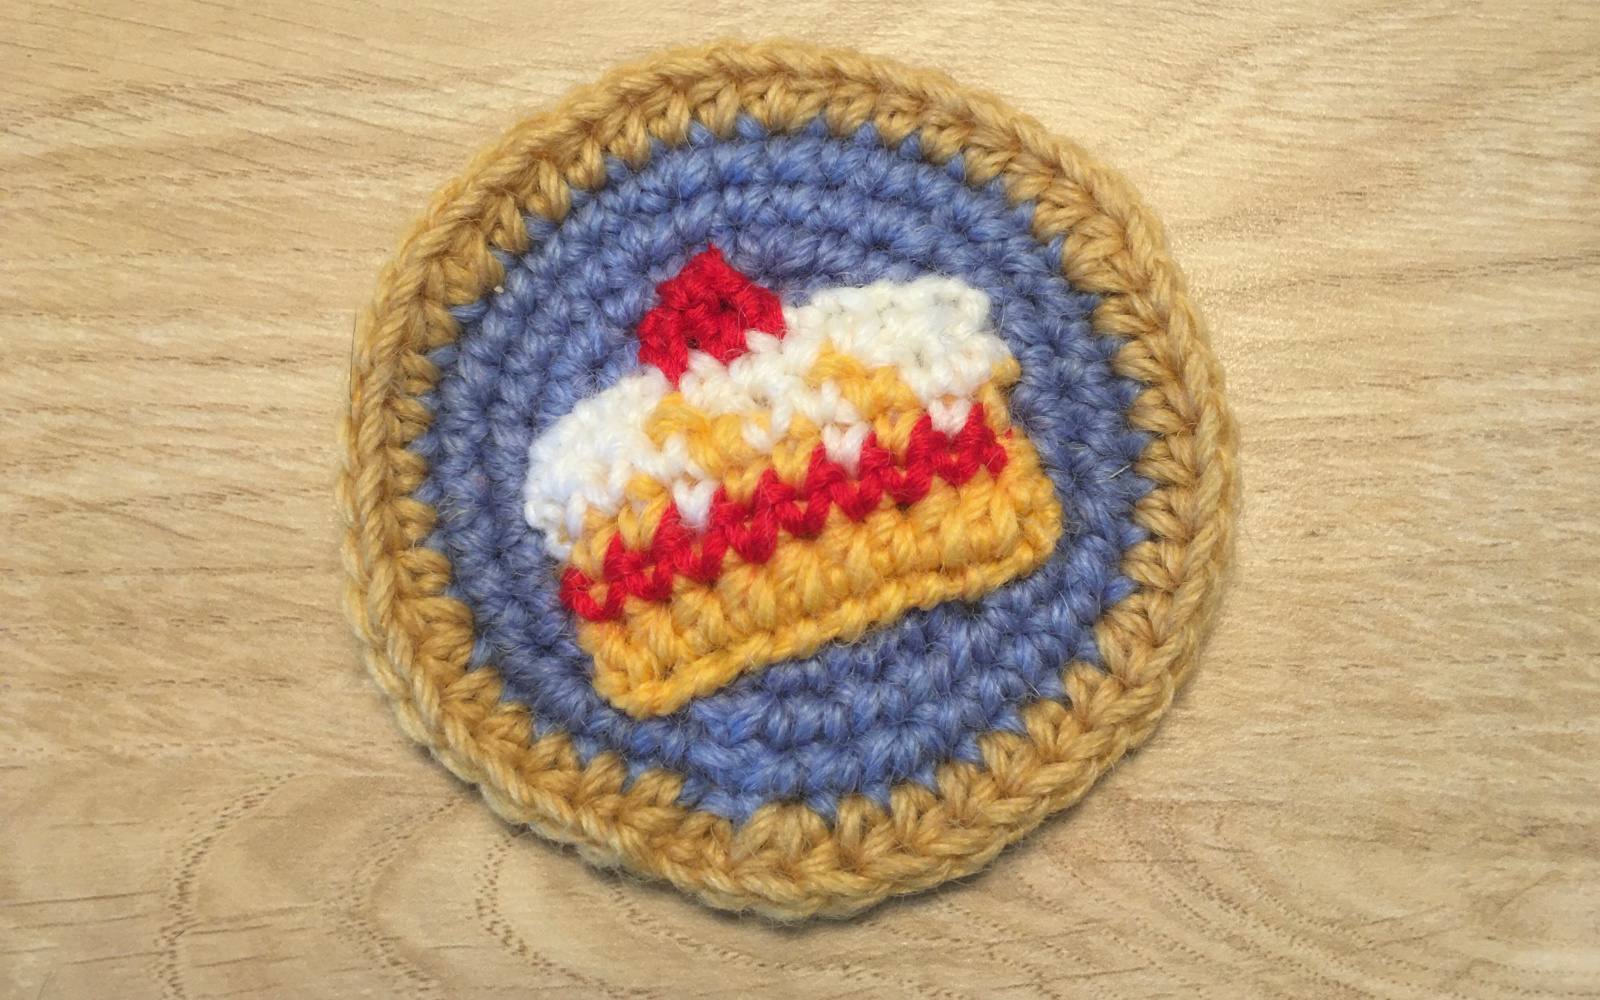
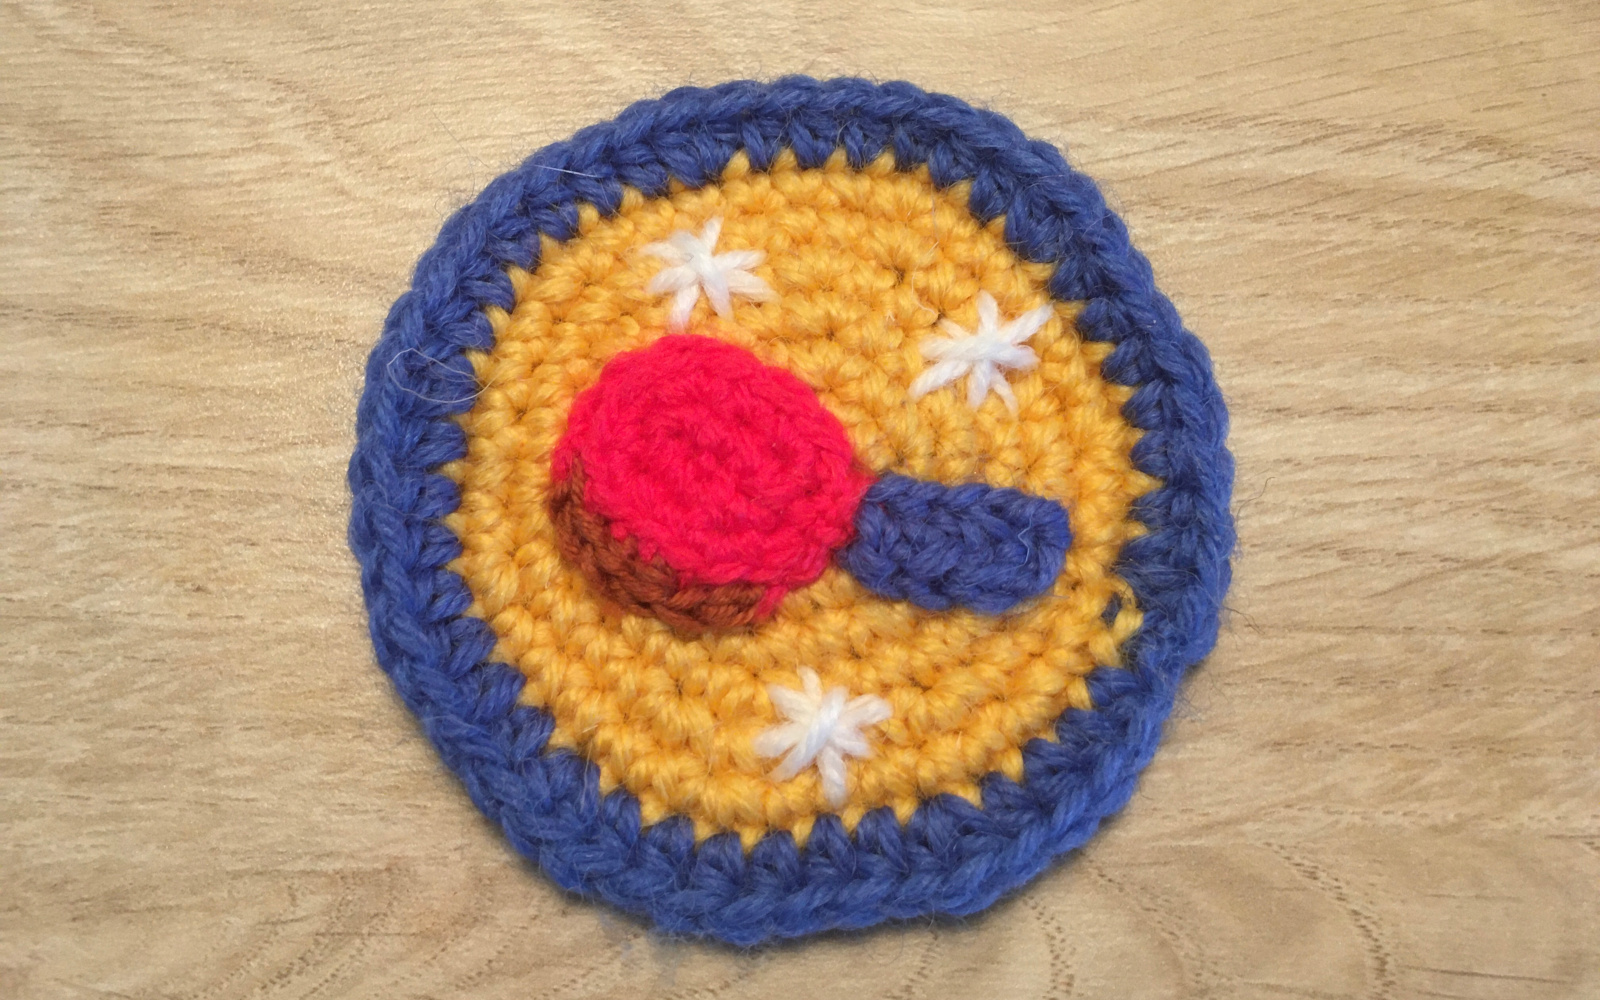
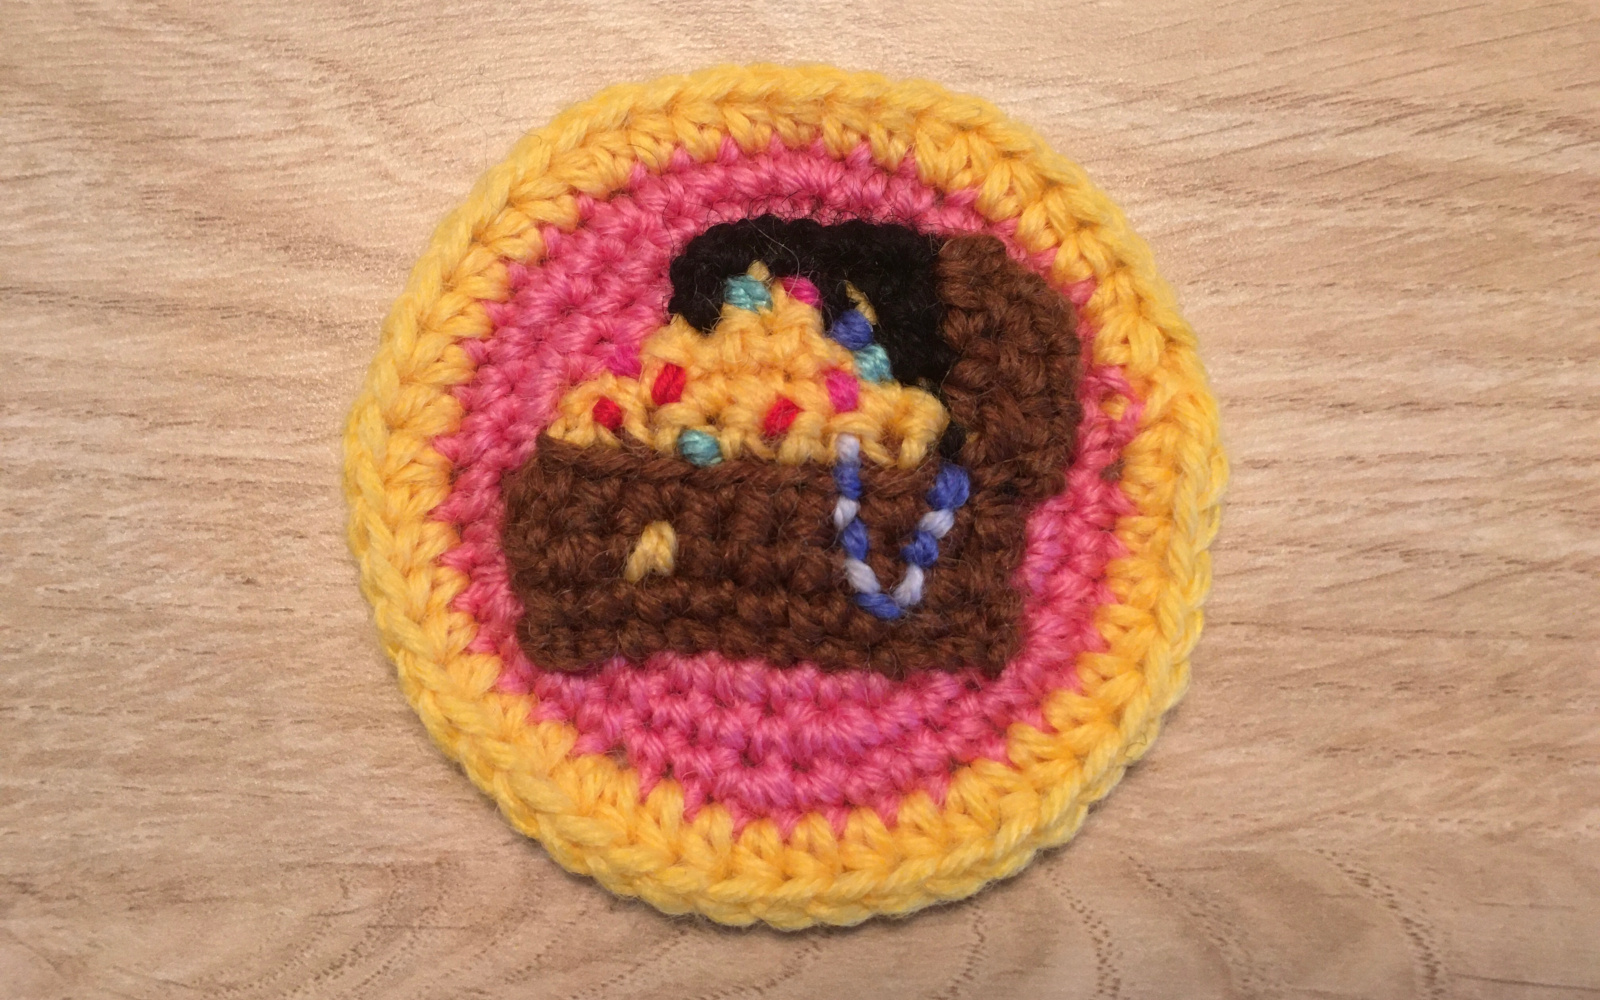
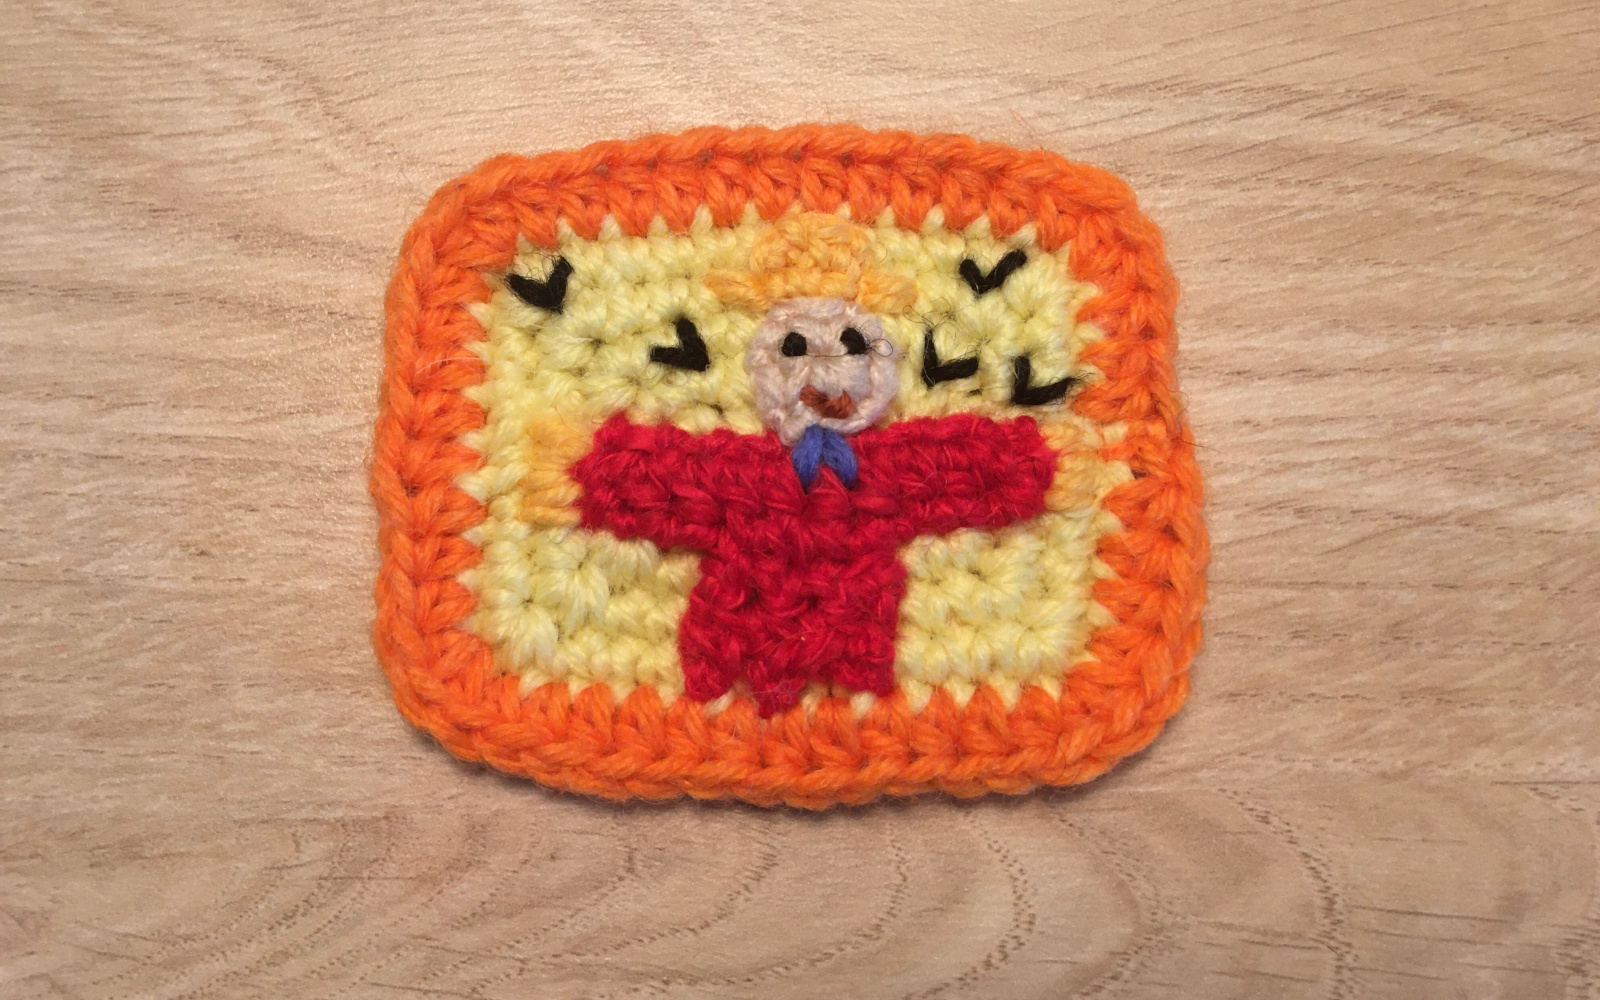
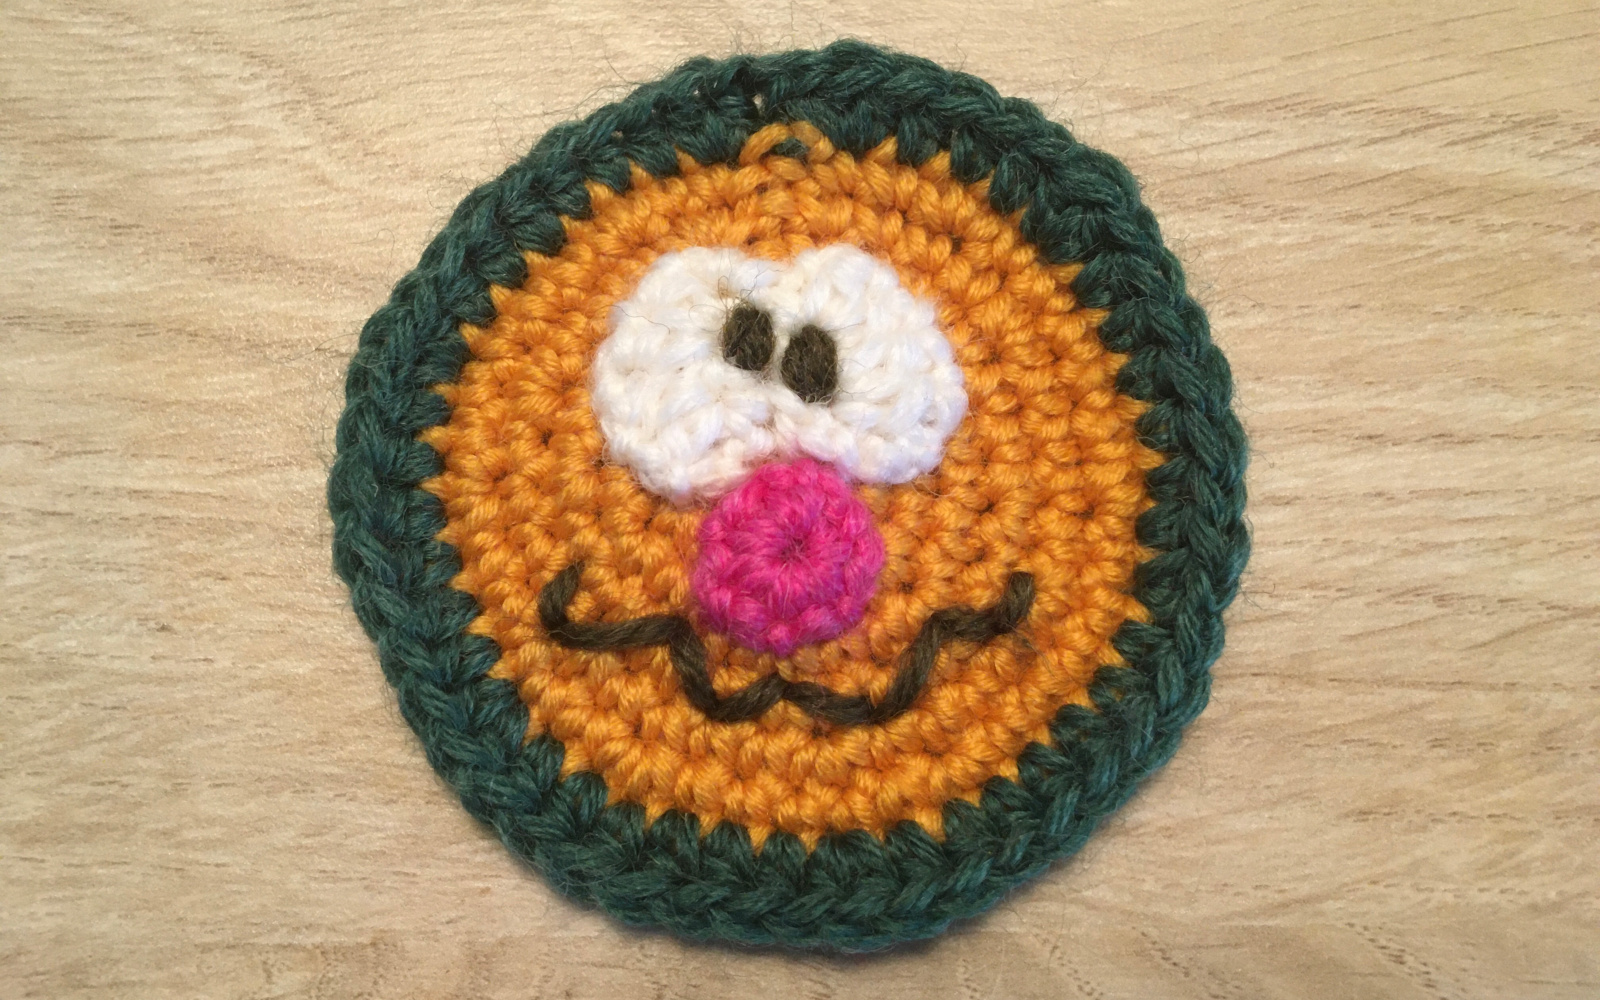
General instructions
All badges have an outer edge of 48 stitches. This is based on the original badges from the show, which have 24 sections at their outer edge when sewn in place. Therefore, when sewing these badges, it's recommended to sew around every other stitch to achieve the exact look.
Also, when sewing in place, make sure to use the correct color!
You can find the list of all the badges here:
https://duggee.fandom.com/wiki/List_of_Badges_in_Season_1Special stitches
While there aren't any particularly unique stitches involved, many badge details require frequent color changes. It's crucial that when executing a yellow stitch, you ensure that yellow yarn is already on your hook. This entails pulling through the previous stitch with yellow yarn, even if the stitch itself is of a different color.
When using multiple colors, take care to always keep the ends of yarns on the wrong side of the work.
Choosing colors
Don't stress too much about finding the correct colors. I can be quite neurotic to find a color that matches the original as closely as possible, but you don't need to.
More important than choosing the right shade of yellow for example, is to select different shades of yellow that work together if the badge uses multiple yellow colors.
The detailing
I tried choosing a size for the badges that makes them realistic sizes to actually be able to use. While also allowing enough detail for the badge image to be recognizable.
Still, some images can be challenging to replicate perfectly, so a bit of imagination might be required to visualize the result.
Naturally, using finer yarn and a smaller hook, or incorporating more embroidery, can enhance the details. I aimed to maximize detail while using the same weight yarn throughout.